
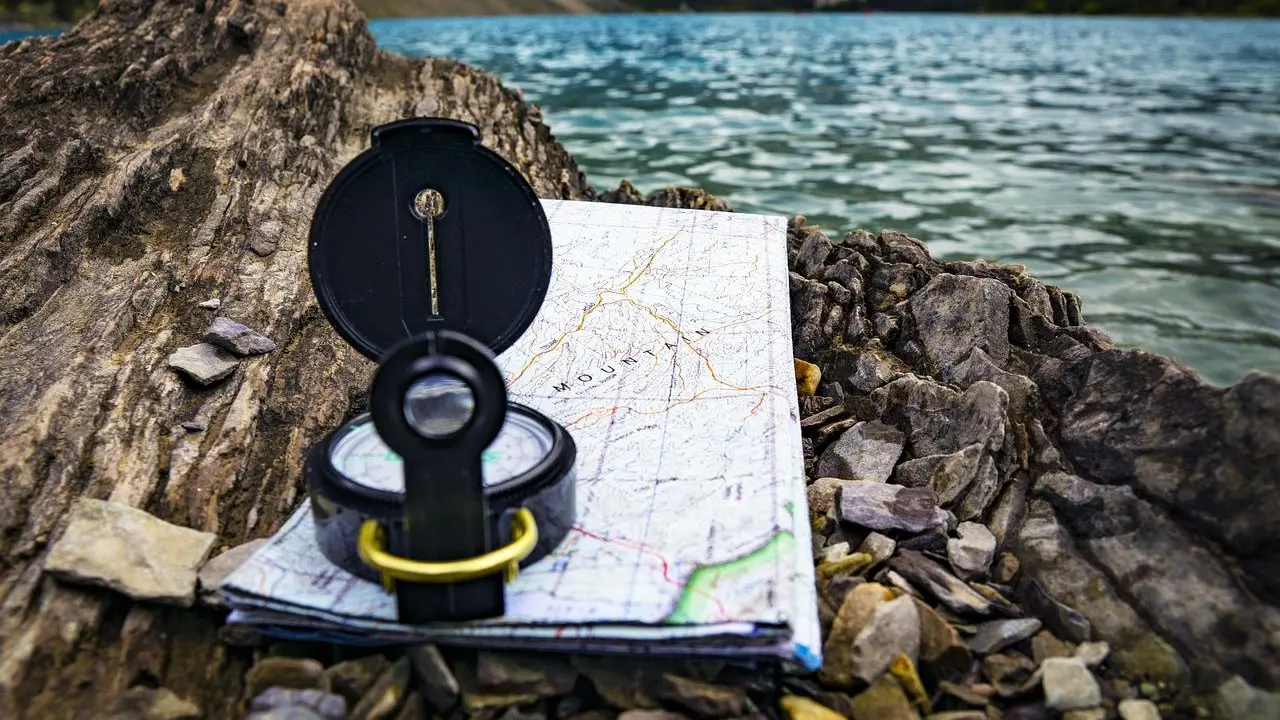
Staring at brown squiggles on a trail map? Here is how to read a topographic map: follow the brown contour lines, which join points of equal elevation, and judge steepness by how tightly they bunch together.
Map reading is one skill in the wider hiking guide for planning and walking trails.
| Map feature | What it tells you |
|---|---|
| Topographic contours | Brown lines of equal elevation |
| Lakes, streams, irrigation ditches | Blue lines and areas |
| Other roads and trails | Black lines |
| Index contours | Usually every fourth or fifth contour, wider or darker |
| Contour interval, relatively flat area | 10 feet or less |
| Contour interval, mountainous area | 100 feet or more |
These figures come from a page adapted from the USGS Mapping Advisory Center, available at Reading USGS Topographic Maps. Map conventions and values can change, so check the source and the legend on your own map before you rely on them.
Start with the colors and symbols
Colored lines, areas and symbols on USGS topographic maps have explicit meanings, so color is the fastest way into a map. Learn the main line colors first:
- Brown: topographic contours.
- Blue: lakes, streams, irrigation ditches and similar water features.
- Red: land grids and important roads.
- Black: other roads and trails, railroads and boundaries.
Colored tinting fills in the larger areas. Green marks vegetation, blue marks water, purple marks updated areas, and grey or red marks densely urbanized areas. The purple tint is a handy hint that part of the map was revised later than the rest.
Small point symbols depict buildings, campgrounds, mines, springs, water tanks and wells. Whether a feature appears as a point, a line or an area depends on its size: a single residential house may be a small black square, while a large building may be drawn in its actual shape.
Water bodies get contours too. Bathymetric contours, shown in blue or black, give the shape and slopes of the bottom of a lake or other water body.
How contour lines show the shape of the land
Topographic contours are brown lines of equal elevation that show the shape of the terrain. Every point on a single line sits at the same height, so a trail that follows one line stays level, while a trail that crosses many lines is climbing or descending.
Spacing is where the useful information lives. Contours that are very close together represent steep slopes, while widely spaced contours, or no contours at all, represent relatively level ground.

Try it on a route you are considering:
- Lines packed tightly across the trail mean a hard, sustained climb or a knee-jarring drop.
- Lines spread far apart mean an easier stretch, such as a valley floor or a broad ridge top.
- A blank gap in the lines means gentle ground, though it may still be wet if blue symbols are nearby.
Contour interval and index contours
The contour interval is the elevation change between adjacent contour lines, and it is usually printed near the scale. Always read it before you judge any slope, because the same spacing can mean different things on different maps.
A map of a relatively flat area may have a contour interval of 10 feet or less. A map of a mountainous area may have a contour interval of 100 feet or more. A hill that looks gentle on a coarse-interval map can still hide a lot of climbing between its lines.
To make counting easier, index contours are wider or darker and usually appear every fourth or fifth contour. Elevations are printed at frequent intervals on these lines, which allows you to interpolate the elevations of the lines between them.
Estimating the elevation of a point
- Find the nearest index contour with a printed elevation.
- Count the thinner lines up or down from it to your point.
- Multiply the number of lines by the contour interval and add or subtract that from the index elevation.
Turning the map into a trail plan
Once the symbols and lines make sense, work through the route in a fixed order. This keeps you from missing the one steep section hiding in the middle.
- Read the legend and the contour interval first.
- Trace the black trail line from the start to the finish.
- Mark every place where contour lines bunch up along the route.
- Look for blue lines and spring symbols if you will need water, and for campground symbols if you plan to stop overnight.
- Check for purple tint, which flags updated areas where the ground may differ from older parts of the map.
Steep sections change how long a day takes and how your body copes. Read up on how to prevent blisters while hiking before a route with long descents, and review these hiking safety tips so a map is only one part of your preparation.
Frequently asked questions
What do the brown lines on a topographic map mean?
Show answer
Those are contour lines. Each one links spots that share the same height, and together they sketch the hills and valleys you will walk through.
How can I tell a steep slope from a flat one?
Show answer
Look at the spacing. Contours that are very close together represent steep slopes, while widely spaced contours or an absence of contours represent relatively level ground.
Where do I find the contour interval?
Show answer
It is usually printed near the scale. Check it first, because a flat area may use an interval of 10 feet or less and a mountainous area an interval of 100 feet or more.
Are trails shown on topographic maps?
Show answer
On USGS maps, other roads and trails are drawn in black, and features are often shown with solid, dashed or dotted lines. Check your map’s legend for the exact line style.
What do blue lines and areas show?
Show answer
Blue is used for lakes, streams, irrigation ditches and similar water features, and blue tinting marks water. Springs appear as point symbols.